Blog
How to Add a Custom Icon to Your Minecraft Server (And Stand Out!)
Jan 5, 2026 62 views
This page will show you how to add an icon to your Minecraft server.
Ever wonder how some Minecraft servers have those cool, custom images next to their names in the server list? It's not just for big networks! Adding a unique icon is a fantastic way to make your server look professional, recognizable, and invite more players.
This in-depth guide will walk you through everything you need to know, including exact image specifications and how to upload it to popular hosting panels like Hoone Hosting.
Step 1: Understanding Minecraft's Icon Requirements – The Golden Rules
Minecraft is very particular about server icons. If your image doesn't meet these three exact requirements, it simply won't show up. Pay close attention to these!
-
Exact Size: Your image must be precisely 64x64 pixels. No larger, no smaller. -
File Format: It must be a PNG file (.png). JPGs, GIFs, or other formats will not work. -
Specific Name: The file must be named exactly server-icon.png. This is case-sensitive, so no Server-Icon.png or servericon.png!
Step 2: Preparing Your Icon – From Concept to 64x64
Before you upload, you need to make sure your desired image meets the strict specifications.
Choosing Your Image: Think about what represents your server best! A logo, a character, or a symbol. Keep it simple and clear, as it will be very small.
Resizing Your Image: If your image isn't already 64x64 pixels, you'll need to resize it.
-
Online Tools: Websites like Canva, Photopea, or even a simple "image resizer" search will give you plenty of free options. -
Desktop Software: Windows: Microsoft Paint is a quick and easy option. Open your image, go to "Resize," select "Pixels," and set both horizontal and vertical to 64. -
Mac: Preview allows you to adjust size via "Tools" > "Adjust Size." -
Advanced: Photoshop or GIMP give you precise control.
Pro Tip: If your original image isn't square (e.g., a rectangle), cropping it into a square before resizing to 64x64 will prevent it from looking stretched or distorted.
Let's say you have a larger image:
After resizing, make sure to save the file as a PNG and rename it to server-icon.png. Double-check the name for any typos! Step 3: Uploading Your Icon to Your Server Host
Now that your server-icon.png is perfectly prepared, it's time to upload it to your server! While hosting panels can vary, the process is largely similar. We'll use Hoone Hosting as an example, which often utilizes a Pterodactyl-based or similar game panel.
Log In to Your Panel: Access your Hoone Hosting account and navigate to your server's control panel.

Stop Your Server: It's always a good practice to stop your server before making file changes. This prevents potential file corruption and ensures changes are applied correctly upon restart. Look for a "Stop" button on your console page.

Navigate to the File Manager: On the left-hand sidebar, click on "Files" or "File Manager."

Access the Root Directory: You should see a list of your server's core files and folders, such as server.properties, eula.txt, and your world folder. This is your server's "root" directory – this is where your server-icon.png needs to go! Do not place it inside the world folder or any other subfolder.

Upload Your Icon:

    Click the "Upload" button (usually found at the top of the file manager).

    Select your server-icon.png file from your computer.

    Alternatively, most modern panels allow you to drag and drop the server-icon.png file directly into the file list in your browser window.

Restart Your Server: Once the upload is complete, go back to your server's Console page and click the "Start" button. Your server will now boot up with your new icon!
Step 4: Verifying Your New Server Icon
Now for the exciting part!
Open your Minecraft game client.
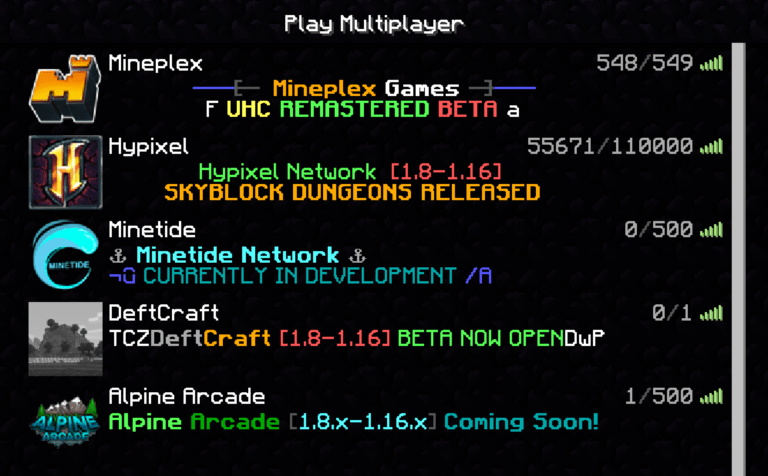
Go to the Multiplayer menu.
If your server is already added, click the "Refresh" button below your server list.
Your custom server-icon.png should now appear proudly next to your server's name!